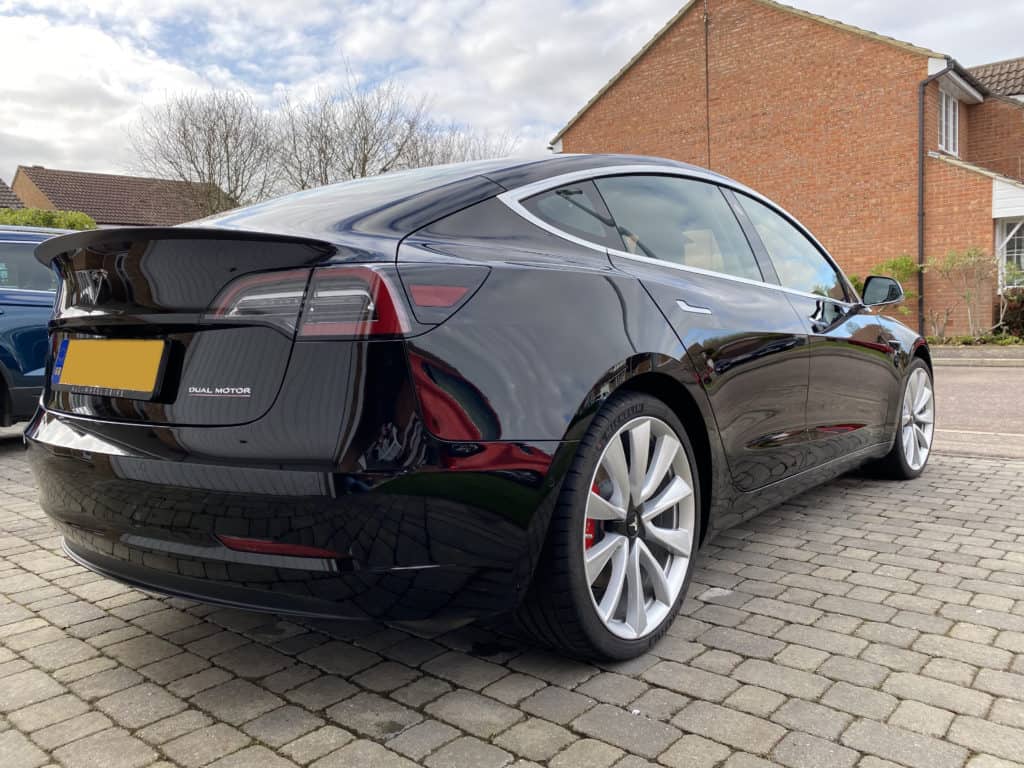
I’m sure from any of the Facebook groups or dedicated forums you might be on, there is lots of talk about having a ceramic coating on Tesla cars (and cars in general). It’s generally taken over as a more popular way of keeping your car looking clean (plus making it easier to clean) and helping to offer a small level of protection from the elements, much like a traditional wax, except it’s more hard wearing and lasts longer.
In this guide, I’ll talk through how to apply Gtechniq products. This is the brand I’ve had the most experience of, it’s a great set of products and it’s perfectly easy enough to apply at home. All the product recommendations will focus on this too, if you plan to use something else, please swap out (and read the specific instructions/recommendations) accordingly.
Machine polishing
What I’m not covering here is polishing the car first, this guide will cover getting your car clean enough for a ceramic coating, but not how to swirls and micro scratches. I suspect for most people they aren’t going to be too bothered about this.
There are plenty of YouTube guides on how to machine polish your car, the only recommendation I’d offer on that front is to stick to a DA machine polisher. Rotary polishers require experience and practice, it’s far too east to burn through your paint.
What you will need
I’m making the assumption here that you will already be following something very similar to the basic washing guide on this page: How to clean your Tesla
Gtechniq Iron / Fall out remover
Bilt Hamber clay bar
Dodo Juice lube (for the clay bar)
Gtechniq Panel Wipe
Gtechniq EXO
Gtechniq C1 Crystal Lacquer / Gtechniq Crystal Serum light (either of these products will work and give brilliant results)
Gtechniq applicator pads (you get some with the kit, I recommend having spares)
Gtechniq MF1 micro fibre cloths
Cleaning
Please follow the basic washing guide (here) but with the additional steps of using the Iron & general fallout remover and another rinse before drying the car.
Dry weather / garage the car if possible
For all of this guide, ensure that the car is not in direct sunlight, causing the panels to be hot to the touch. If you are lucky enough to have a big enough garage to work on the car in, all the better.
The recommendations for most of the ceramic coatings is to keep the car dry for 12 hours. So please ensure you plan when to do this carefully if you don’t have a garage.
Claying the car
Once clean, you need to clay the car. This ensures that all the stuck on dirt and deposits on the paint work are removed ahead of applying a protective coating that will last anywhere between 18-24 months.
Use a fairly small piece of clay and the lube, work on a small area at a time, ensuring the panel is lubricated at all times when using the clay. Rubbing back and forth, applying minimal pressure and folding the clay to ensure you don’t end up scratching the paint work. When you feel the paint after claying, it should be completely smooth to the touch.
Check on the clay and remove any hard bits you might find to avoid scratching the car as you go along (check when folding!)
When you’ve gone round the whole of the car, you’ll need to remove the lube from the car. Use the Gtechniq Panel wipe to remove this from the car using a microfibre cloth (spray into the cloth and wipe over the car), ensure you go over all the painted surfaces to ensure that the ceramic coating can adhere to the surface.
Applying the ceramic coating(s)
Now your car is clean and the surfaces decontaminated, it’s time to get on the ceramic coating.
Ceramic coating
C1 Crystal Lacquer or Crystal Serum Light (CSL being the newer product) – What you’ll notice is just how small the applicator pads are and just how little of the product you use at any given time, it’s small drops rather than any large amount.
*Ensure you use the gloves provided*
Apply just a few drops onto an applicator pad and apply lightly (I’ve always just applied using my first and middle finger on the applicator pad) to a 2ft x 2ft / 60 x 60 cm area at any time, ensuring you go over the area several times to ensure nothing has been missed.
Once you’ve completed a single panel, remove all of the residue with a clean microfibre cloth. Ensure you also go a little further than the panel (i.e. the tops of the wings if you were doing the bonnet / hood) to ensure that any extra areas that could have been touched by accident have the residue removed.
Continue to work round the car until you’ve completely covered and then removed all the residue.
Top coat
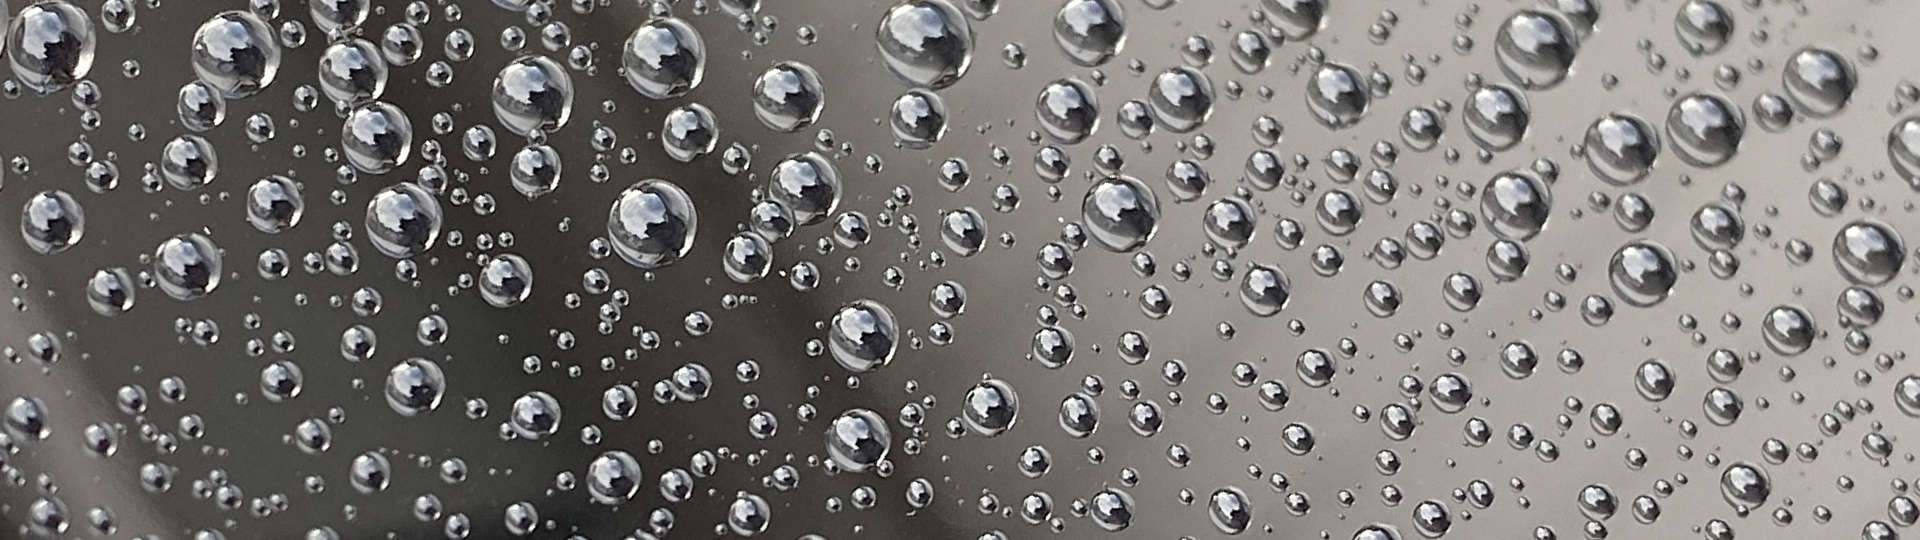
To ensure an even shinier and more hydrophobic finish, now it’s time to apply the EXO v4.
If you’ve applied C1 Crystal Lacquer, you’ll need to wait at least 2 hours before applying EXO (It’s not recommended to wait longer than 12 hours)
If you’ve applied Crystal Serum Light, there’s no need to wait, you can crack on and apply straight away (It’s recommended to do this step within 24 hours).
The application instructions for EXO are identical to the ceramic coating instructions above, apply small amounts, in small areas ensuring you’ve covered by doing multiple passes, then removing with a micro fibre cloth once a panel is complete. Also as above, *Ensure you use the gloves provided*
Your car should be kept dry and preferably garaged for 12 hours post completing your ceramic coating.
Ceramic for the wheels
You’ve gone this far, why not repeat the steps of adding gloss and protection to your wheels! The application process is much the same as the ceramic and top coat. You can either just apply at the outside face of the wheels, or go militant, take them off and apply all over.
Sit back and admire your handy work