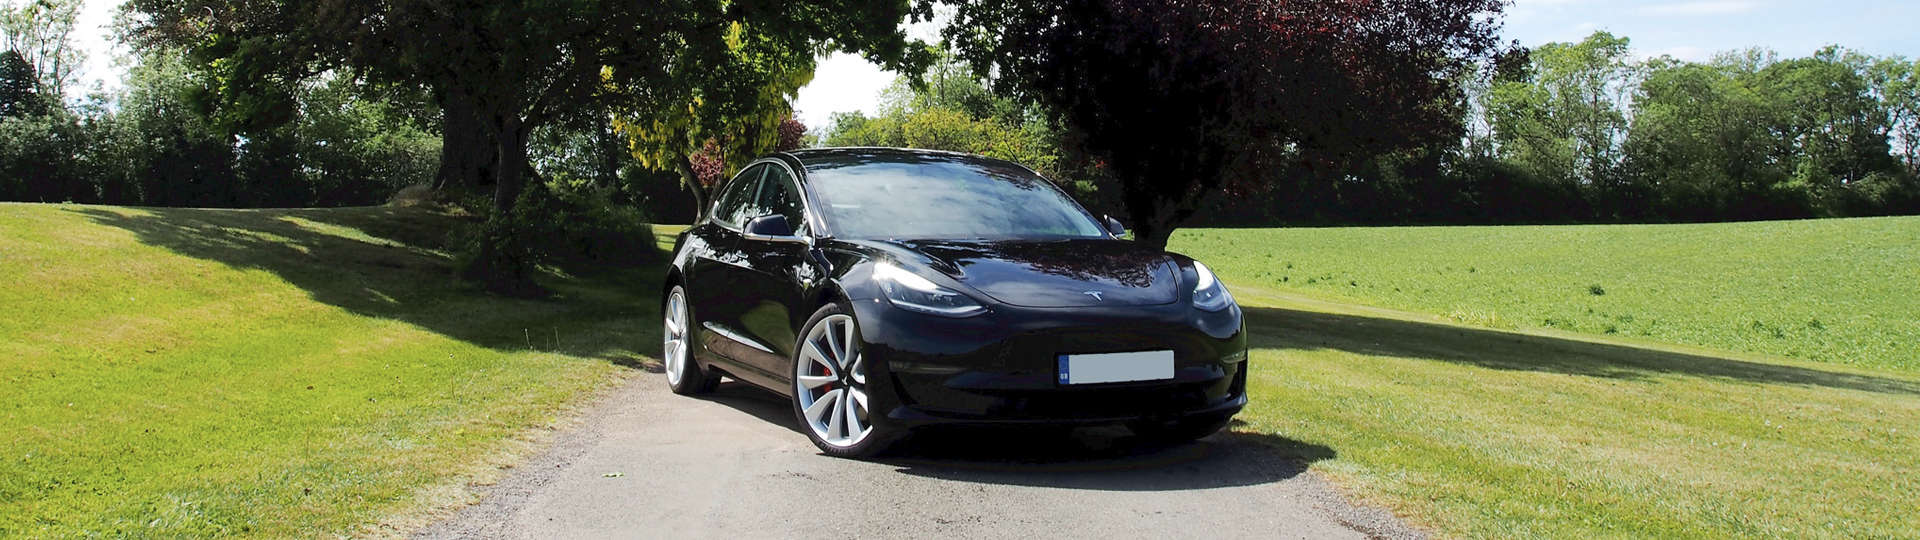
If like me you love the look of your car and want to keep it looking its best, then you’ll likely want to start home cleaning it (and if you’re in the UK, fairly regularly!), so let’s go through the best way of cleaning your Tesla.
When you first start looking into the best ways of doing it there are likely lots of things you might not have heard of before, I’ll list out the minimum good practice items, then extras if you want to take things further.
I’ll list out some additional recommended products at the end of the page.
Basic car cleaning
Let’s start off with how to do a good basic clean that minimises the risk of adding minor surface scratches to the car.
What you will need
Please feel free to swap out with your preferred brands / products, these are just some options if you don’t yet have them.
Pressure washer – Any high pressure unit from Karcher or Nilfisk should be fine, some examples;
Karcher K4
Karcher K5
eBay Karcher outlet (worth keeping an eye on for deals)
Car Shampoo – All of the below do a fantastic job
Bilt Hamber Auto Wash
Dodo Juice – Born to be mild
Gtechniq G Wash
Gyeon Bathe Plus
Drying towel – I have both of these
Gtechniq microfibre drying towel
Gtechniq MF2 microfibre drying towel
Buckets with grit guards
Meguairs 5 gallon bucket with guard (get 2!)
2x car wash buckets with grit guards (cheaper than Meguairs, but well rated)
DetailedOnline 2x buckets with grit guards (again, well rated)
Wash mitt
Gtechniq wash mitt
Meguiars wash mitt
With your products ready, it’s time to start cleaning.
Jet wash rinse
I highly recommend a jet wash over just using a hose, jet washing your car off before you start cleaning means that you’ll shift some dirt off the car before you start washing it, reducing the risk of you scratching it.
Always start from the top down, that way any dirt from the upper portions of the car should be washed off, rather than left in place.
Avoid direct pressure on the charge flap and rear spoiler (if you have one).
The two bucket method
The two bucket method unsurprisingly features the use of two buckets, one for the soap and one with clean water. The buckets have ‘grit guards’ in them to prevent you scratching the car with any of the dirt that you might have just washed off the car.
The idea is, bucket 1 has your car shampoo in. You dip your wash mitt in here first, clean an area of the car and clean the wash mitt off in bucket 2. Bucket 2 has clean water in, when you’ve cleaned part fo the car and need more soap, you put your wash mitt into the clean water bucket, rub the mitt across the grit guard and then put it back in bucket 1 with the soap in.
It might all sound a bit extra, but this does help to remove the dirt / grit from the dirty mitt and stops you wiping that back on the car, you’ll see how dirty bucket 2 is compared to bucket 1 at the end!
Again, wash from the top downwards.
Jet wash rinse
Once you’ve finished washing the car, once again use your jet washer to blast off the soap working top down.
Again, avoid direct pressure on the charge flap and rear spoiler (if you have one).
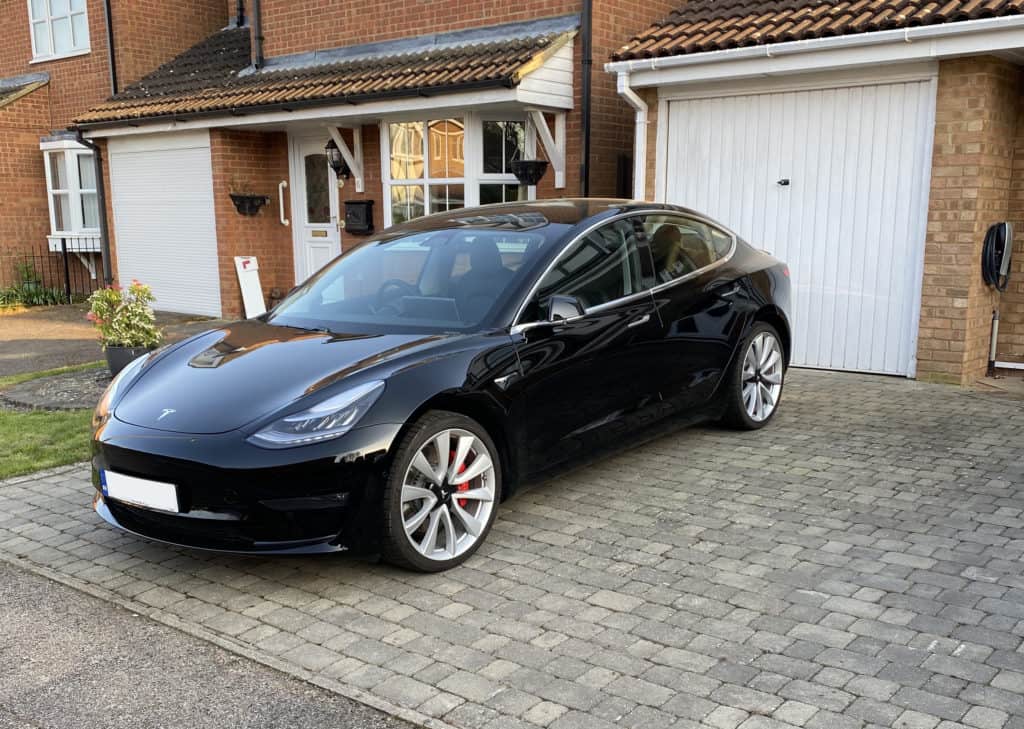
Drying
To avoid scratches use a microfibre drying towel rather than a chamois and especially do not use one of those rubber blades! The microfibre drying towels mop up the water and are much less likely to add micro scratches / swirls to your paint work.
Again, work top down to prevent any water from above undoing any drying work you’ve done.
When working on the lower parts of the car, be very careful not to let the towel catch the floor, you’ll likely end up picking up some grit and scratching the car.
Additional products & steps to improve your cleaning and the look of your car
Now you’ve got the taste for it, you can take your car cleaning further and improve the results of your cleaning efforts. I’ve included example products I’ve had experience of in each section, again if you have a brand / product preference of your own, carry on using what you are comfortable with.
Snow foam – The pre-wash
You’ll have seen some pictures of cars looking very foamy at some point, this is the snow foam process. The idea being that the snow foam helps to remove some of the dirt that a jet wash rinse simply wouldn’t do on its own.
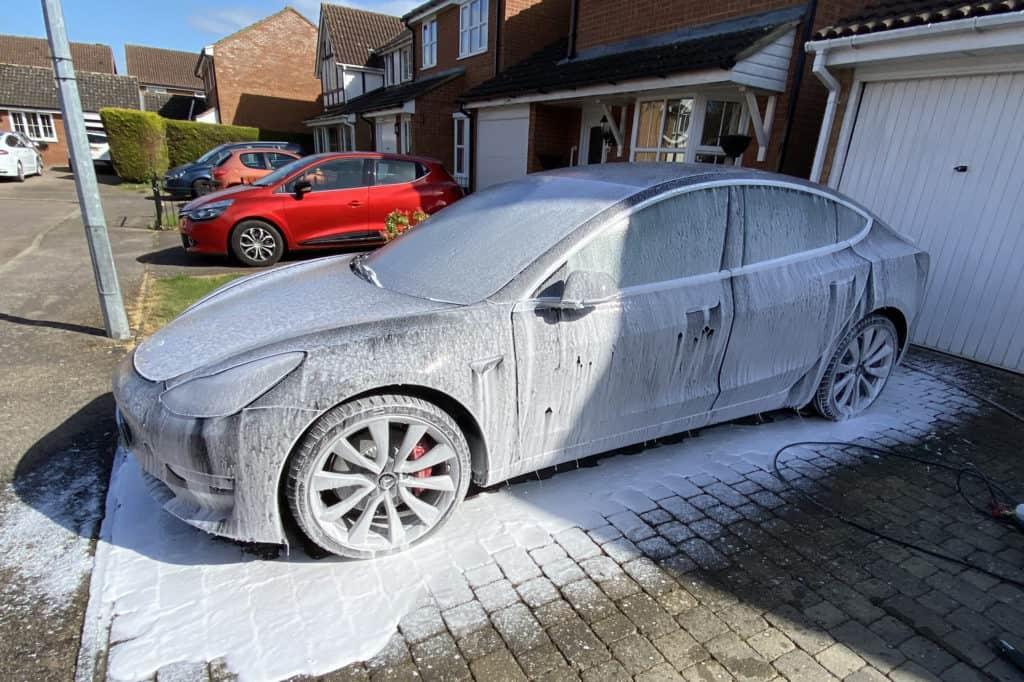
The best snow foam products should help to cling on to and break down some of the dirt and have it slide off the car before you start with your wash mitt.
To use snow foam, you’ll need a suitable snow foam cannon / lance that is compatible with your brand of jet wash (most of them give the option of Karcher or Nilfisk).
You can either pre-rinse the car and then foam, or if the car isn’t too dirty, I apply the snow foam straight to the car. The snow foam instructors should tell you how long to leave on the car for to give the best results.
Only do this when the car is not hot to the touch, having any kind of baked on soap / shampoo product is not a sensible idea!
It’s worth noting here, that a thicker foam doesn’t mean a better product (unless your only goal is to take photos of your foamy Tesla!).
Product recommendations
Bilt Hamber Auto Foam is the product I would currently recommend, although I’ll soon be trying out Waxplanet 8 below following a recent YouTube ‘snow foam shoot out’ video that I watched (yeah… I know)
Foam cannon or Auto-Brite foam cannon should both work well (I’ve got the Auto-Brite one)
Gyeon Wet Coat
I used this on my wife’s car as hers doesn’t have the level of coating on as mine, amazing product. Adds gloss and superb hydrodphobic properties, the water can’t keep on the car.
So simple to apply too, once you’ve cleaned the car and rinsed off the soap, lightly mist a panel at a time then jet wash / hose it off, when you’ve done the whole car just simply dry it as normal. You’ll see how hydrophobic the paint work when rinsing it off.
Gyeon Wet Coat (500ml, 1 Litre and 4 Litre’s available – 4 Litre doesn’t come with a spray head, you’d need to decant it to a spray bottle).
Clay bar
You might have also heard of using a clay bar on your car, this is an essential step to do before machine polishing (ahead of putting on a ceramic coating or similar). This is a car detailing product, rather than something you might make a jug out of!
Using a clay bar with appropriate lube (no, not that..) helps remove all the stuck on dirt, such as a tar spots that normal cleaning does not, after a clay bar session, your cars paintwork will feel as smooth as glass.
This isn’t something that needs to be done very often, but if you have something stubborn stuck on you could use just for that as and when needed.
To clay your car, first ensure your car has just been cleaned (I’d also recommend you use iron / fallout remover as part of the wash before the rinsing / drying stage), tear off a small piece of clay, spray some of the clay lube on the car and gently rub the clay back and forth across the area, doing small bits at a time. Always make sure the surface is lubricated, not hot to the touch and apply only small amounts of pressure. Fold the clay from time to time to make sure you aren’t rubbing that stubborn dirt back over the car and scratching it.
Once you’ve finished, you’ll need to clean the car again or use panel wipe to get rid of the lubrication product, then apply a sealant (ceramic coating or wax).
Product recommendations
Meguiars smooth surface clay bar kit
Bilt Hamber Auto clay bar
Dodo Juice born slippy (clay lube)
Ceramic coatings
The modern day wax replacement (although you can wax on top of a ceramic coating if you really want!). Ceramic coatings help to keep your car looking cleaner for longer and make your car easier to wash, due to their hydrophobic nature.
A ceramic coating puts a thin layer above your paint, adding a layer of both gloss and protection. There are many products now available, some of the home user and some only available for application by certified pros.
Ceramic coatings tend to last a lot longer than a traditional wax, meaning once applied you only really have to wash and dry your car to keep it looking its best. Often the higher end products will last on your car for years at a time.
Application will really depend on the product, but most require the car to be clean, clayed, polished (to remove as many swirl marks / scratches) then applied. You generally use a very small amount.
For a guide on how to apply at home: Applying a ceramic coating at home
Product recommendations
Gtechniq C1 Crystal Lacquer / Gtechniq Crystal Serum light (either of these products will work and give brilliant results)
Gtechniq EXO V4
There are tonnes of other ceramic coating products out there, this is the only brand I’ve personally applied
Quick detailer
A great little product to help get the best streak free finish when cleaning your Tesla, once the car is dry you spray on and rub with a microfibre cloth, that’s it. Your car will come up gleaming.
Product recommendations
Gtechniq Quick Detailer
Meguiars Ultimate Quik Detailer spray
Gyeon Quick Detailer
Water filters
Don’t want to dry your car? Well, your prayers have been answered, at a price.
Using a water filter allows you to just rinse your car off with the filter after the final jet wash rinse, that’s it, you leave it to dry and it’ll be spot free!
You’ll need a specific product though, might take a while just using the water filter in your fridge and I’m not sure on the results you’d get.
Product recommendations
Race Glaze water filter
Di Resin vessel (includes resin)
Di Resin vessel (with resin)
Dissolved solids meter – To check on how much / how effective the resin is to know when to replace
Glass coatings
Applying a modern day version of GlassX is a great way to get water flying off your screen when it rains, most of these new products also tend to last well over a year before you’d need to re-apply
Product recommendations
Gtechniq G1
Wheel cleaning
Given the lack of actual braking we do, you shouldn’t need one of the specialist wheel cleaning products, I’ve rarely seen any brake dust on my wheels, even during winter.
Other product recommendations
These are some other products I’ve personally used and recommend, there will of course be lots of others available and I highly recommend you do your research (and end up down a YouTube rabbit hole!).
Microfibre cloths
Gtechniq MF1 microfibre cloths
Other really useful product recommendations
Gtechniq Panel Wipe (really useful to remove old wax / polish before applying a ceramic coating)
Gtechniq Perfect Glass (glass cleaner)
Dodo Juice Clearly Menthol (glass cleaner – had this for years, works great!)
Gtechniq C5 wheel armour (ceramic coating for your wheels)
Gtechniq Iron and general fallout remover (stinks, but works great!)
Gtechniq Glue and Tar remover
Gloria FoamMaster – If you want to snow foam, but don’t (yet?) have a pressure washer